
In today’s digital world, video content has become crucial for businesses, especially in the real estate industry. Real estate video editing services are essential to creating videos that effectively showcase properties, capture the viewer’s attention, and generate leads. However, video editing can be daunting for those who are not familiar with the process. Here are the five simple steps to master real estate video editing.
Step 1: Plan and Organize Your Footage
The first step in real estate video editing is to plan and organize your footage. Before editing, you must ensure you have all the necessary footage to create the video. Organizing your footage by property or location is important, so finding the specific clips you need when editing is easier. Once your footage is organized, you can select the best shots highlighting the property’s features and making it attractive.
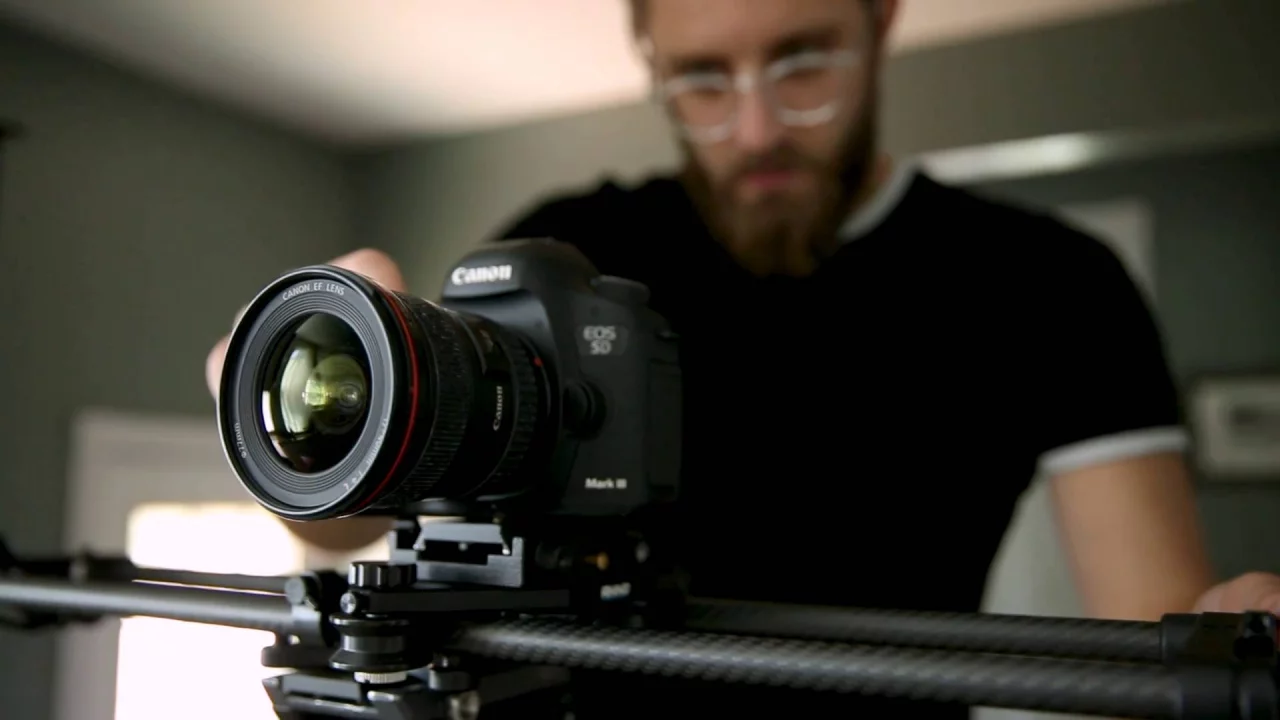
Step 2: Use the Right Video Editing Software
The next step is to choose the right video editing software. There are several video editing software options available. Choosing the right software will depend on your skill level, the features you need, and your budget.
When choosing video editing software, it is important to consider your skill level and experience. If you are new to video editing, start with simpler, more user-friendly software. These basic programs are often included on your computer and can help you get familiar with the editing process.
Step 3: Add Transitions and Effects
Once you have selected your footage and chosen the right video editing software, you can start adding transitions and effects to your video. Real estate video editing services can help you create videos that effectively showcase properties and capture the viewer’s attention. Transitions can make your video flow smoothly from one clip to another, while effects can add visual interest to your video. It’s important not to overdo it with effects and keep the video professional-looking.
When adding transitions and effects to your real estate video, keeping the overall style and theme in mind is important. Your video should be consistent and reflect the property’s aesthetic and mood.
Step 4: Incorporate Music and Sound Effects
Music and sound effects can enhance the overall quality of your real estate video. Adding a background track that complements the visuals can create a mood and help the viewer connect with the property. Sound effects such as footsteps or doors opening can make the video more immersive and engaging.
When selecting music for your real estate video, consider the property’s location, style, and target audience. Providers of comprehensive video editing services can help you with appropriate music selection. The music should be appropriate for the property and complement the visuals. If the property is a luxury home or high-end commercial property, for example, you may want to consider using classical or instrumental music to create an elegant and sophisticated atmosphere. Alternatively, use upbeat and contemporary music if the property is a modern and trendy apartment.
Step 5: Finalize and Export
The final step in real estate video editing is to finalize and export your video. Before exporting, it’s essential to review your video to ensure that everything is in place and there are no errors. Once satisfied with your video, you can export it in the appropriate format and resolution for your intended platform.
Conclusion
Video editing is an essential aspect of marketing properties. With these five simple steps, you can master editing and create videos that effectively showcase your properties. Planning and organizing your footage, choosing the right video editing software, adding transitions and effects, incorporating music and sound effects, and finalizing and exporting your video are all crucial steps in real estate video editing. Following these steps, you can create professional-looking videos that attract potential buyers and generate leads.